Github Pages is very powerful and it’s free to use. Nowadays many developers deploy their blog & project pages on Github Pages using jekyll.
You’re free to use Github Pages Builder by default. But if you want to use additional plugins or other powerful features of jekyll, you’ll need to build your site locally and then push it to your Github repo.
And every time you update your site or add new posts, you’ll need to build it again and push it up again.
It’s very annoyinng and a waste of time.
Can’t we use some methods to make it automatically happen?
Of course we can!
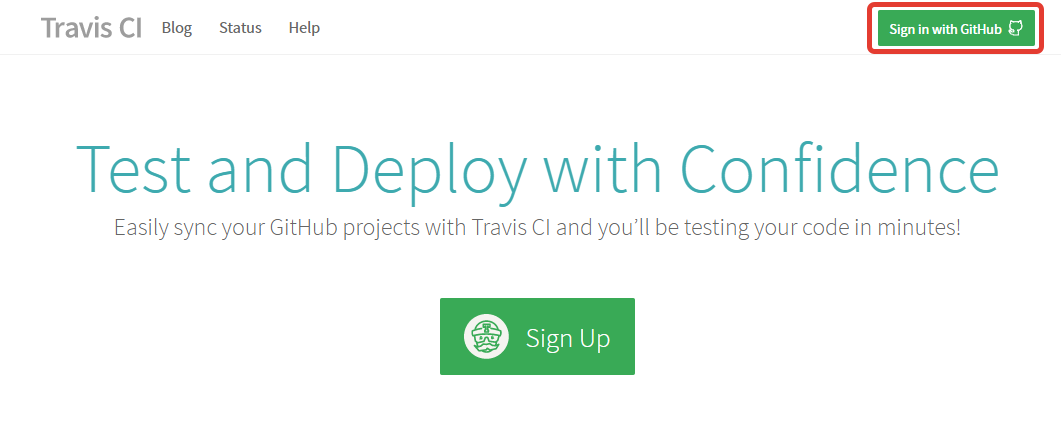
Use your Github account login to Travis CI website.
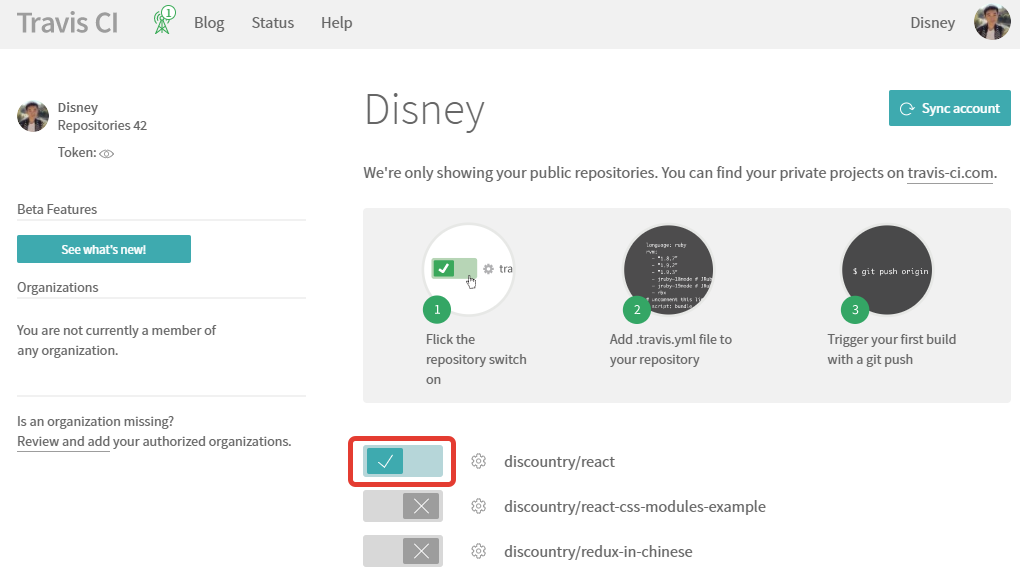
Then go to your account setting page. And open the toggle button of the project you want to enable Continuous integration.
Add a new .travis.yml file on the root of your project.
language: ruby
rvm: 2.2
install: bundle install
deploy:
  provider: pages
  skip_cleanup: true
  github_token: $GITHUB_TOKEN # Set in travis-ci.org dashboard
  on:
    branch: master # Or `gh-pages`
Go to your Token setting page.
Pree Generate new token button.
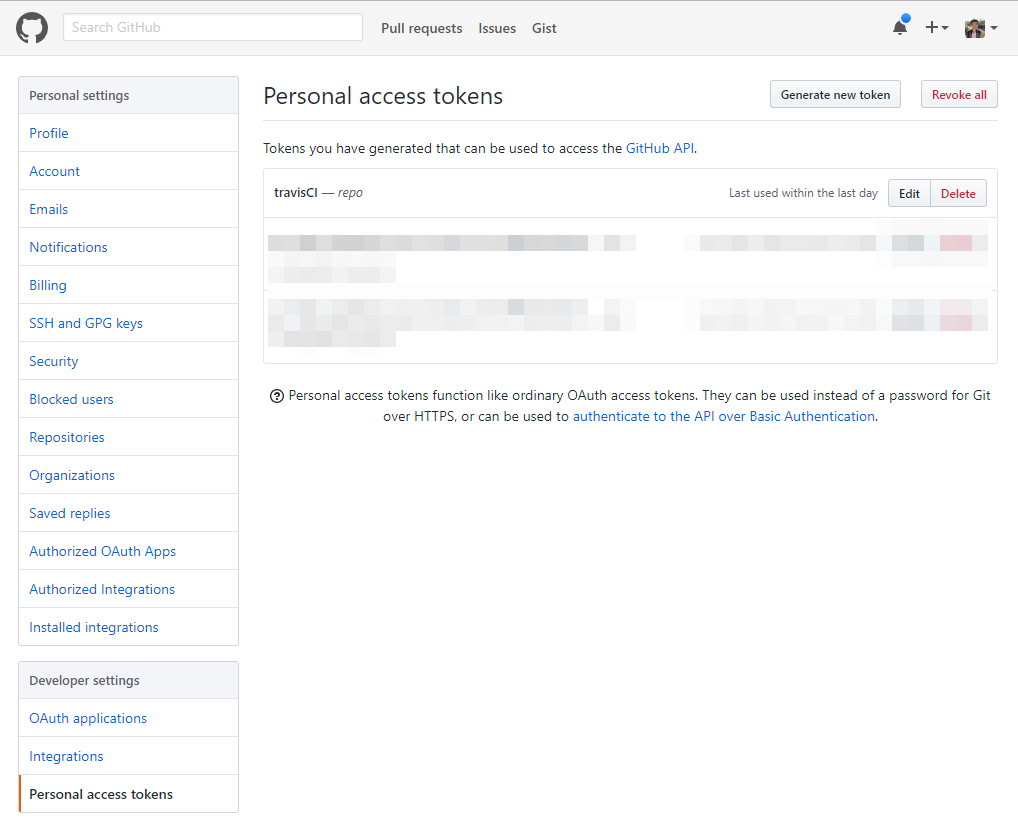
Select the right permission.

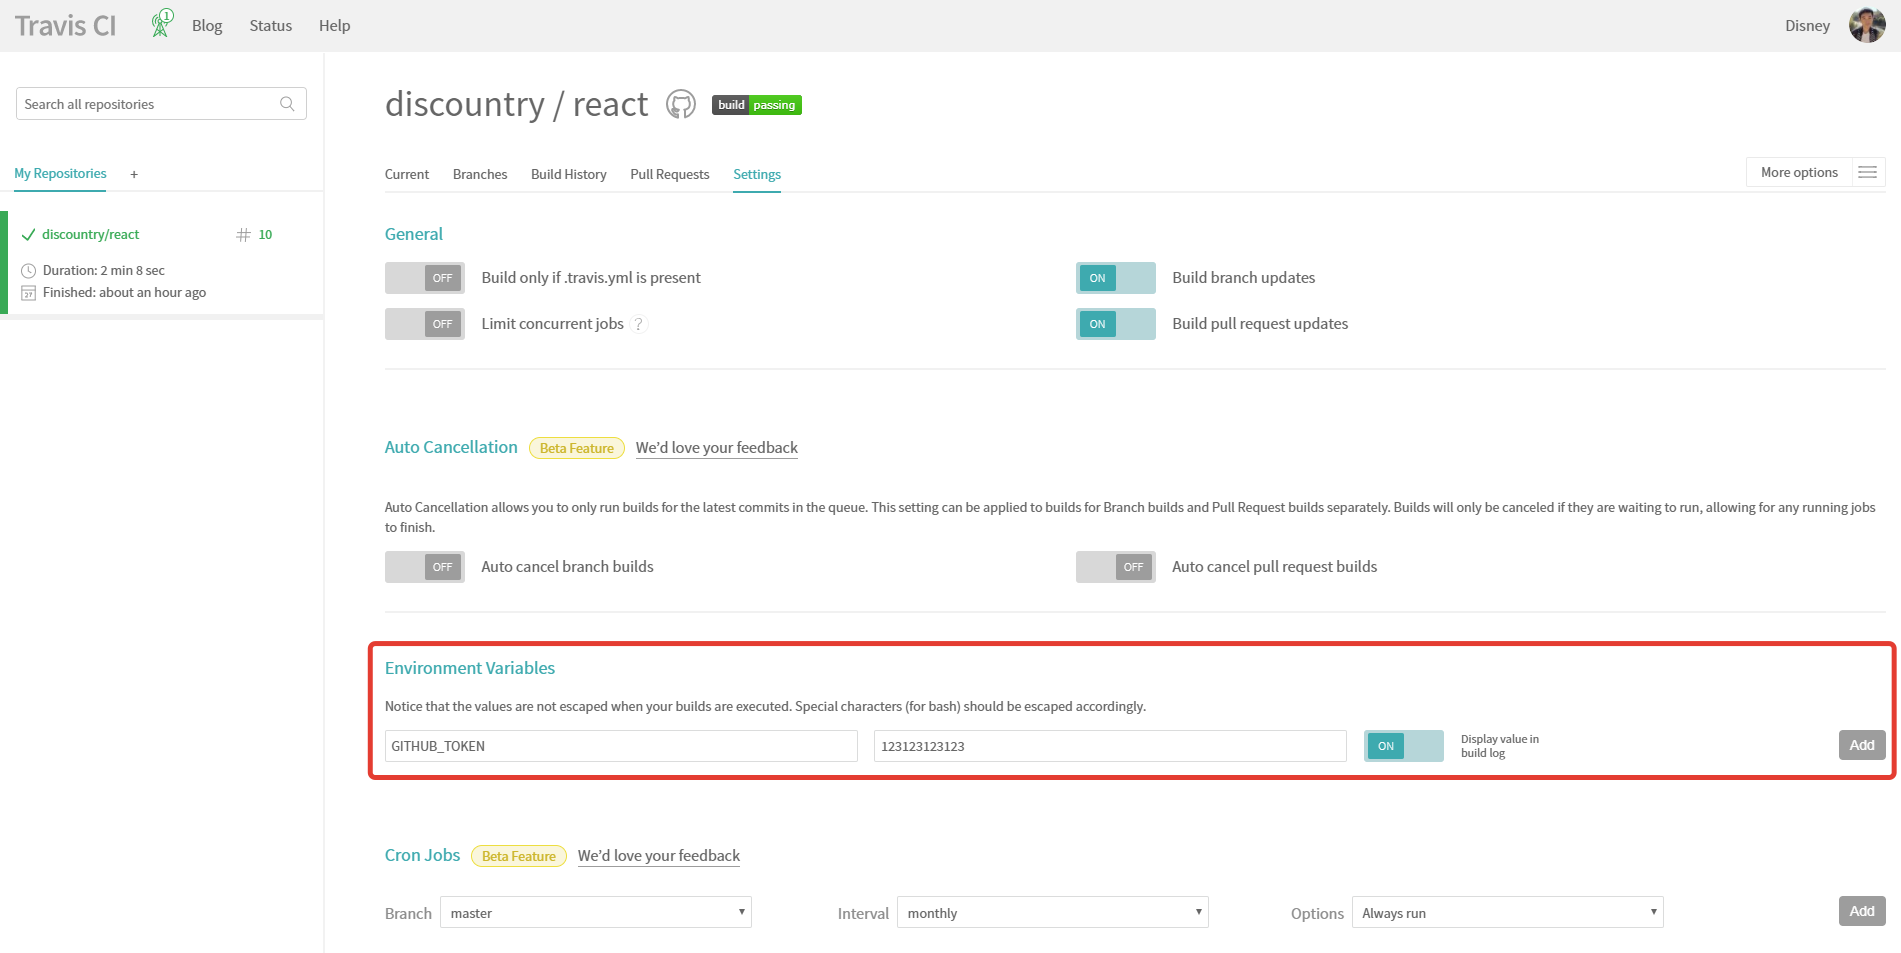
Add the generated token to your travis-ci project setting page.
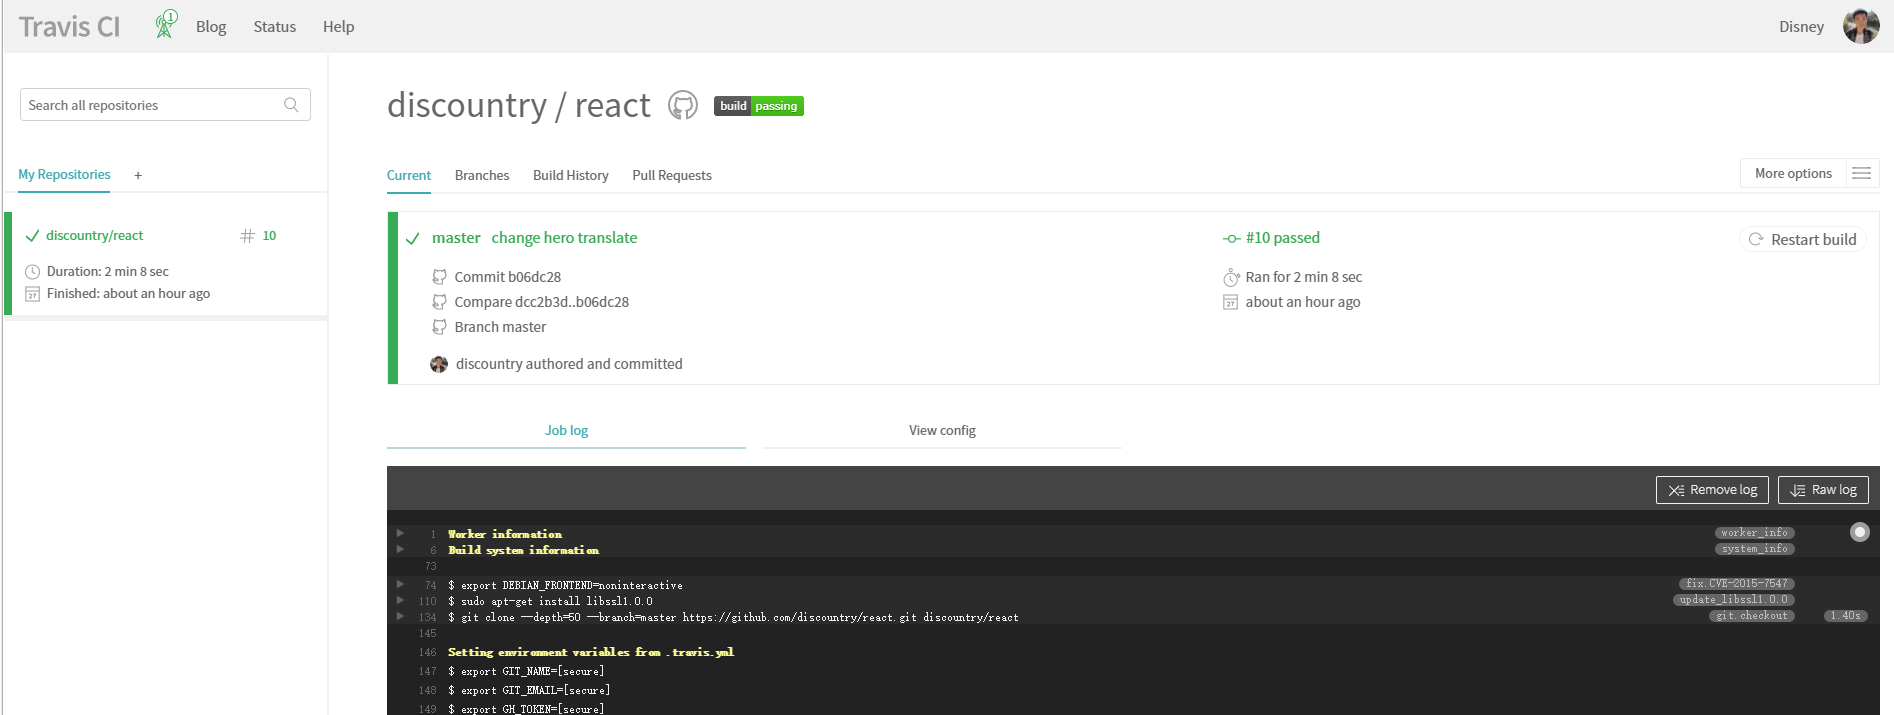
Push a new commit to your repo. Then you’re able to see the build process log on travis-ci:
You’re good to go!
Back To Top
 Yubolun